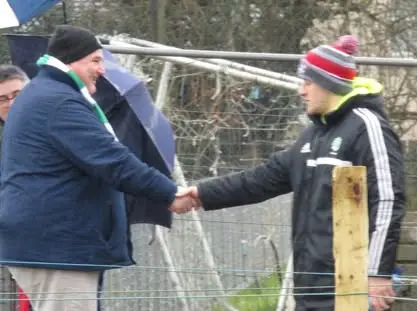
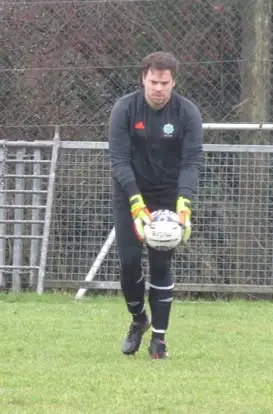
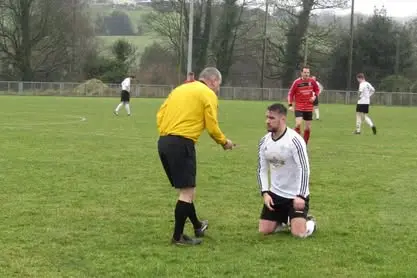
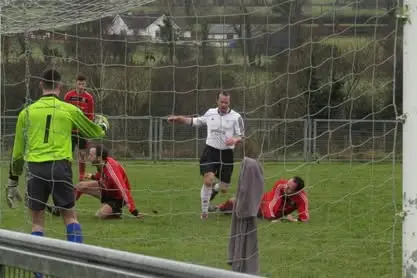
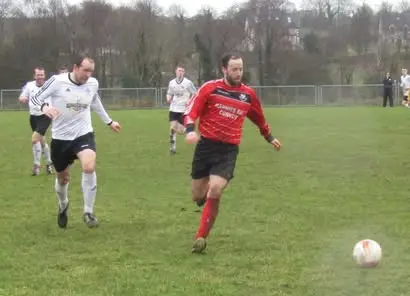
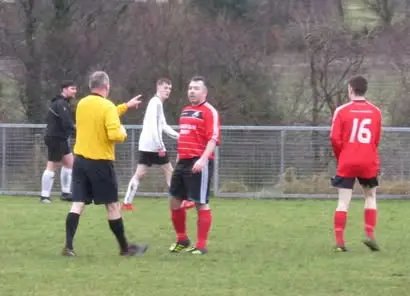
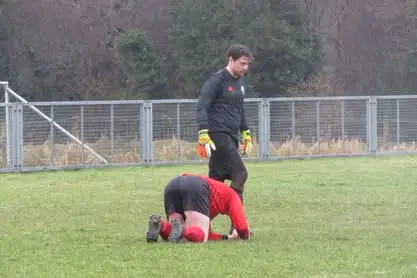
Convoy Ath (1) V (3) St Cathereine's

16 photos by Ronan Cunningham.

  1. Convoy Ath (1) V (3) St Cathereine's, photo 1 of 16
  2. Convoy Ath (1) V (3) St Cathereine's, photo 2 of 16
  3. Convoy Ath (1) V (3) St Cathereine's, photo 3 of 16
  4. Convoy Ath (1) V (3) St Cathereine's, photo 4 of 16
  5. Convoy Ath (1) V (3) St Cathereine's, photo 5 of 16
  6. Convoy Ath (1) V (3) St Cathereine's, photo 6 of 16
  7. Convoy Ath (1) V (3) St Cathereine's, photo 7 of 16
  8. Convoy Ath (1) V (3) St Cathereine's, photo 8 of 16
  9. Convoy Ath (1) V (3) St Cathereine's, photo 9 of 16
  10. Convoy Ath (1) V (3) St Cathereine's, photo 10 of 16
  11. Convoy Ath (1) V (3) St Cathereine's, photo 11 of 16
  12. Convoy Ath (1) V (3) St Cathereine's, photo 12 of 16
  13. Convoy Ath (1) V (3) St Cathereine's, photo 13 of 16
  14. Convoy Ath (1) V (3) St Cathereine's, photo 14 of 16
  15. Convoy Ath (1) V (3) St Cathereine's, photo 15 of 16
  16. Convoy Ath (1) V (3) St Cathereine's, photo 16 of 16